
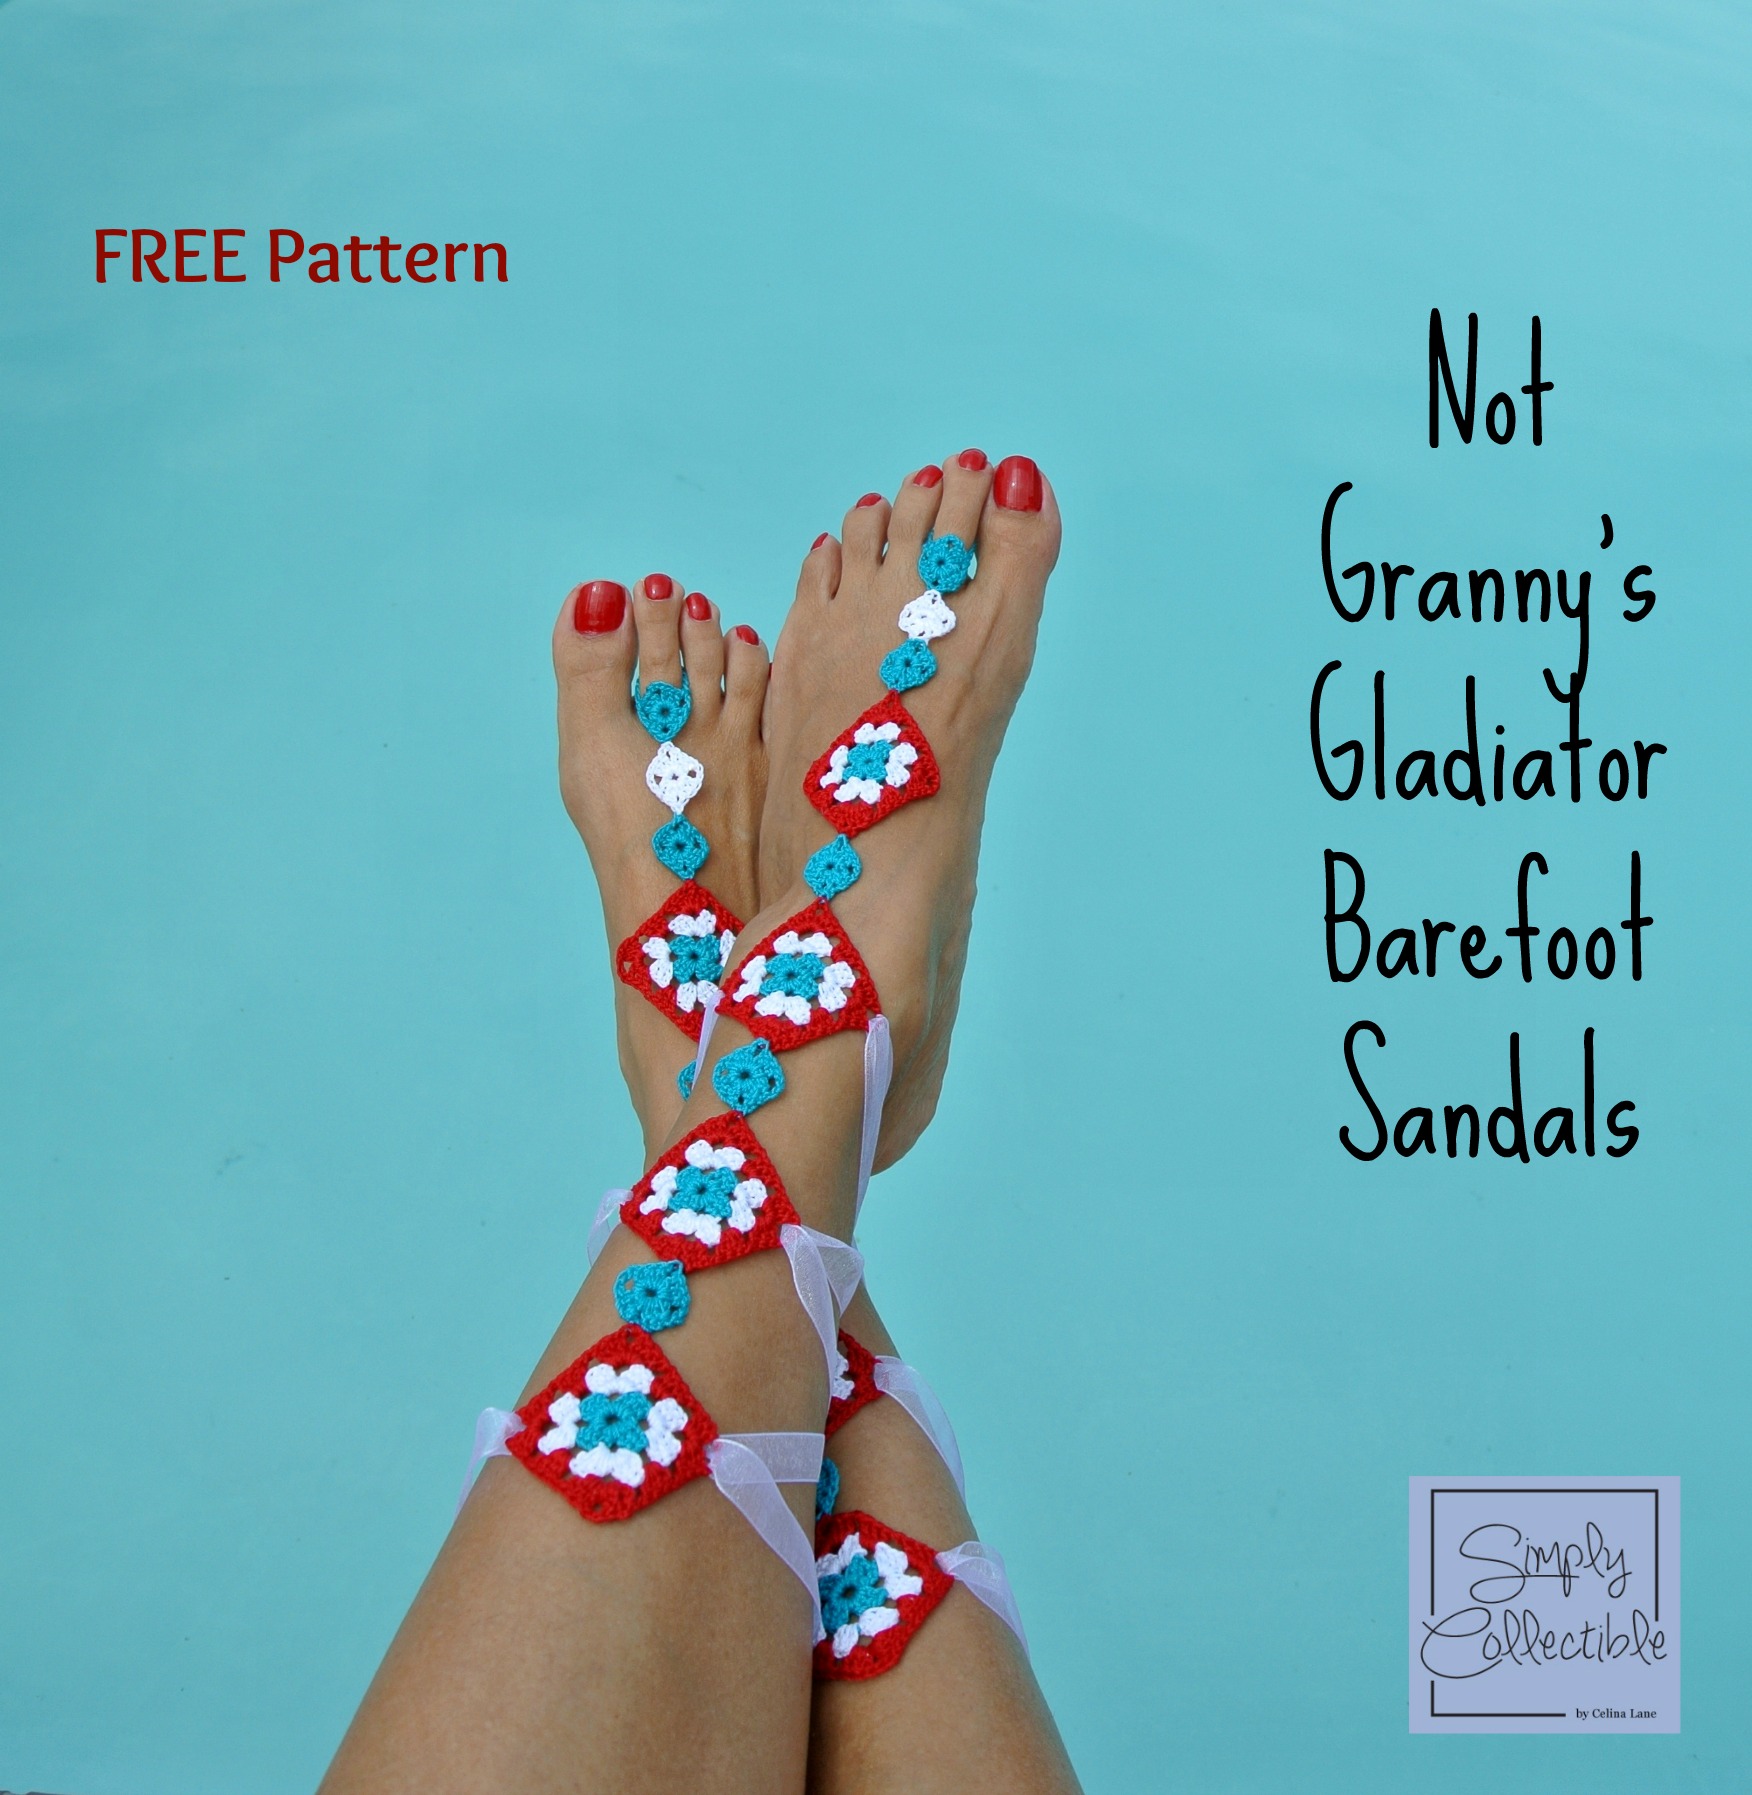
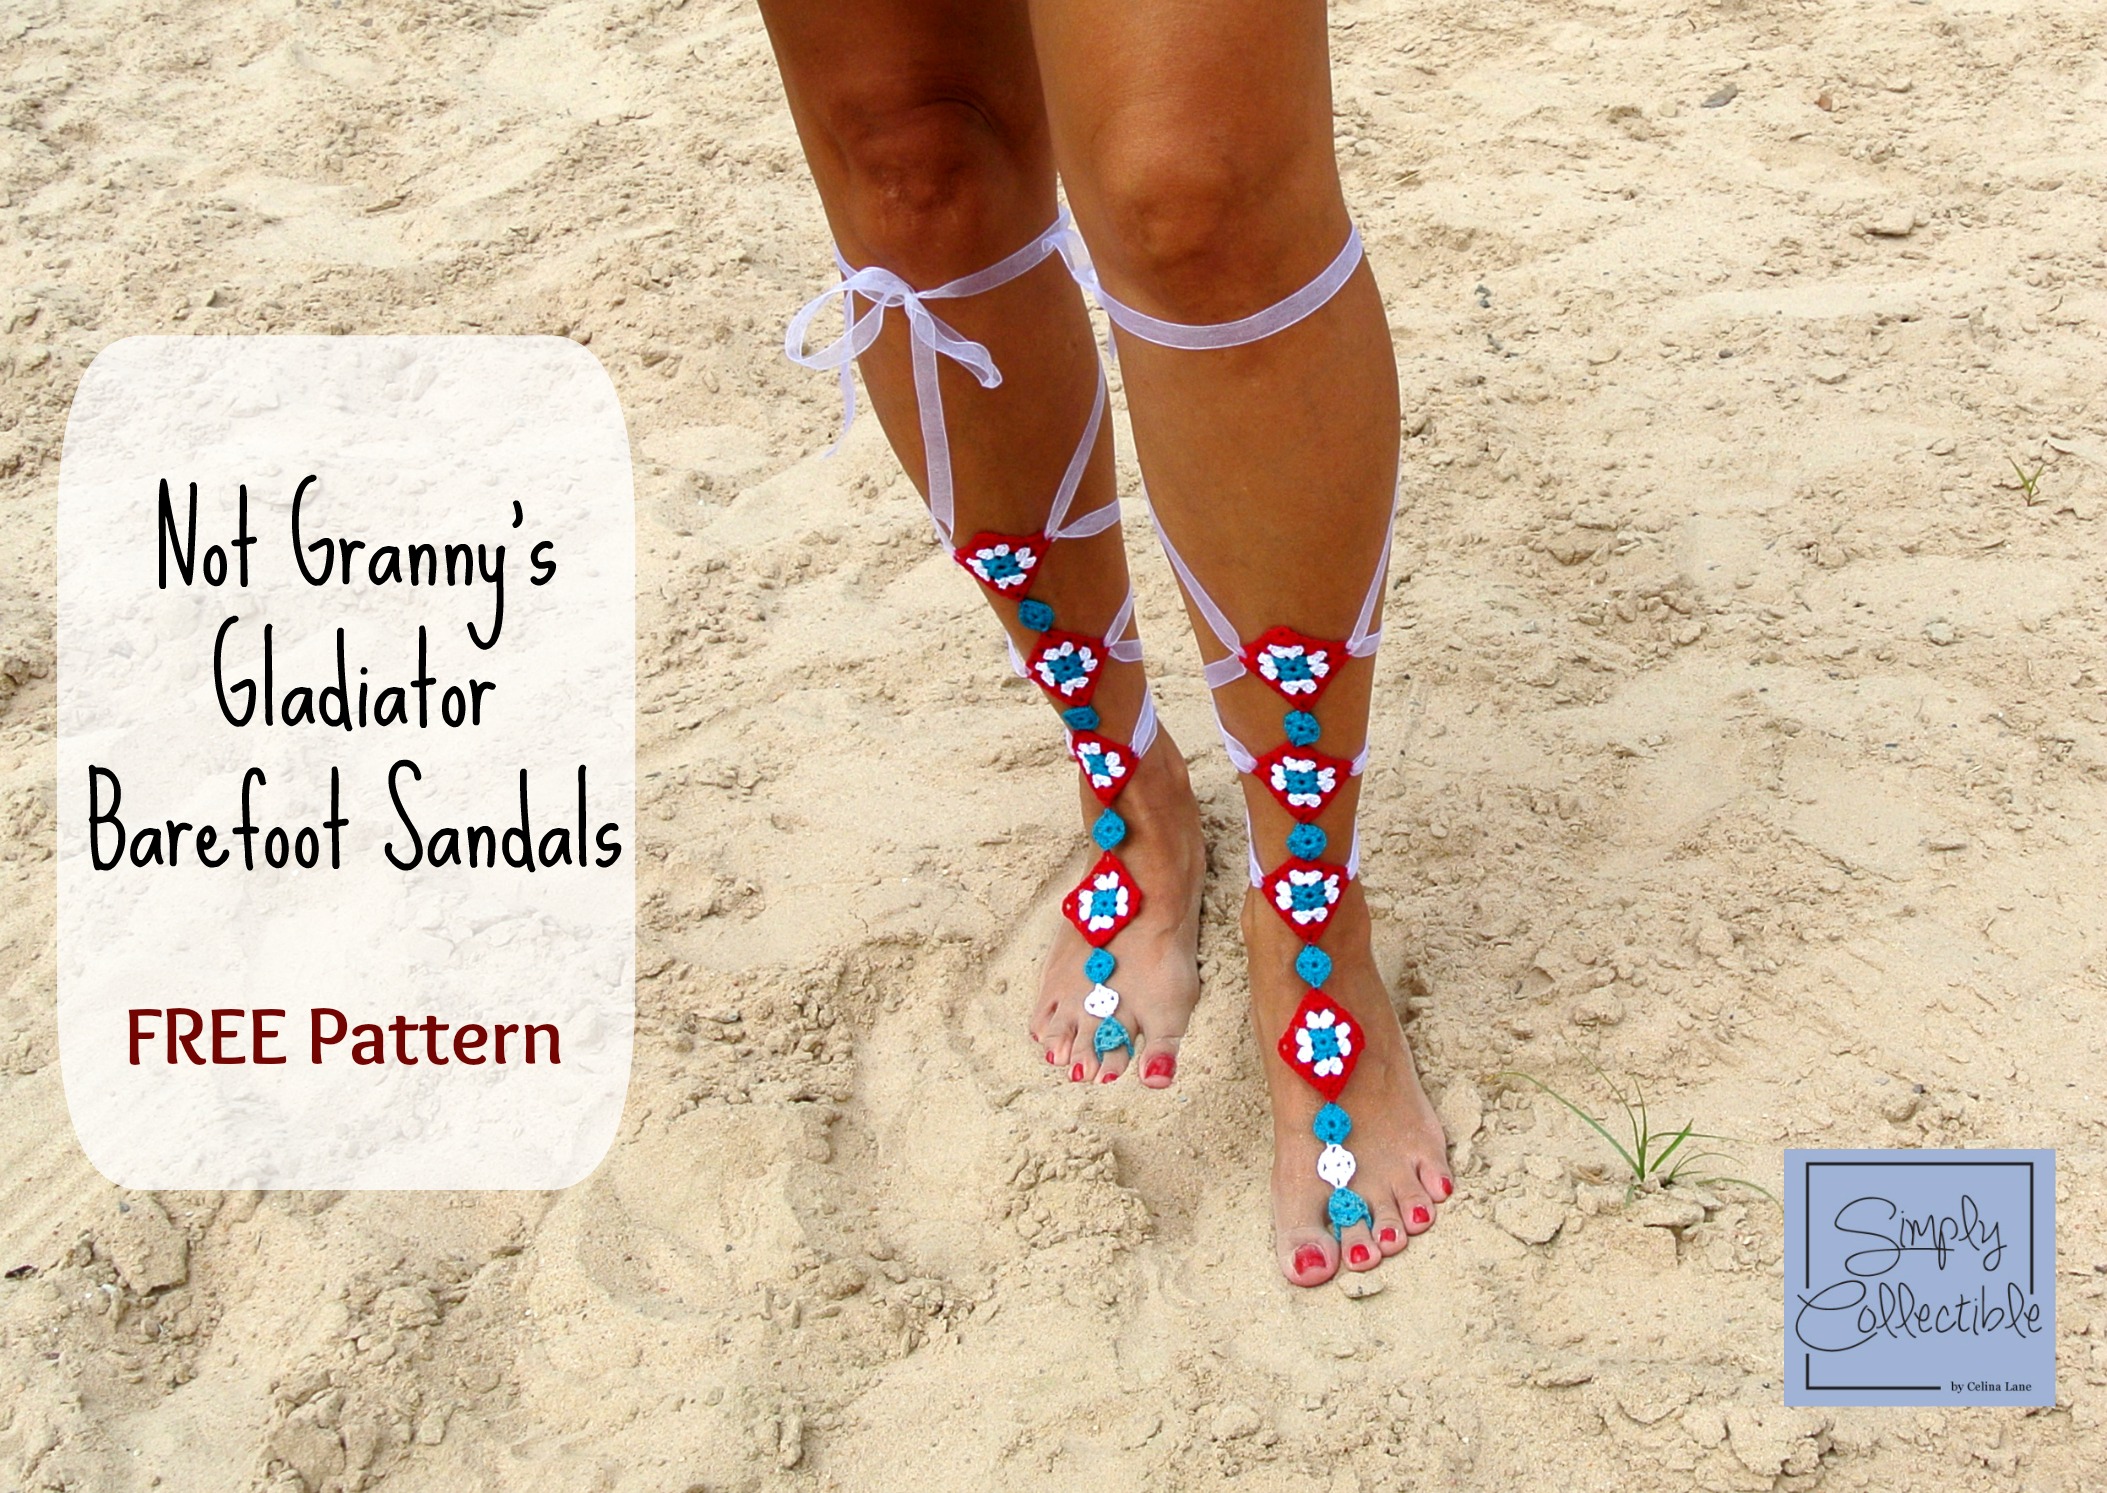
Not Granny's Gladiator Barefoot Sandals
I'm having so much fun creating my Not Granny's series and I sure hope you are also enjoying it. Not Granny's Gladiator Barefoot Sandals are obviously not an ordinary barefoot sandal. They are a statement that requires restating. (See what I did there?) Honestly, I don't know what to say about these glorious Gladiator Barefoot Sandals, except that you may feel the need to run out and get some thread right away or they may just change your life. (Kinda kidding.)
There are so many possibilities with granny squares. To me, they seem endless! If you can make a granny square, you can certainly make these. Imagine solid white for a wedding and the bridesmaids in different colors. Ah, the splendor!
What do you think? What colors will you use?
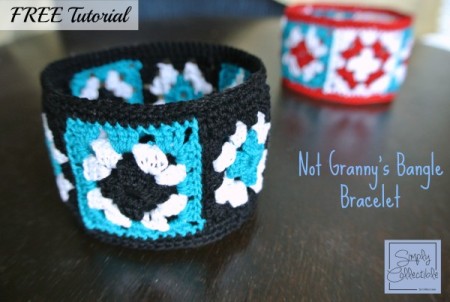
Make sure to go by and check my Not Granny's Bangle Bracelets HERE.
View The Not Granny's Sassy Barefoot Sandals HERE.
 The Not Granny's Gladiator (and Sassy) Barefoot Sandals are made strictly from granny squares. You may use ribbon to lace around the back as I did or crochet a long chain.
Materials:
Aunt Lydia's Size 10 Crochet Thread
3/8″ Organza Ribbon
Steel Hook Size 7/ 1.5mm
Scissors
Needle the appropriate size for this thread
Special instructions:
Read all instructions before beginning. Each row can be a new color. Work with any colors of your choice. For ease, fasten off, and break the thread after every row. You may start a new round in any corner; mixing it up makes it look even. Starting chain counts as a stitch. If your first square does not measure what mine measures, you will need to adjust your tension or your hook size.
Square width = 1.5″
6 small (first round only) squares for each gladiator barefoot sandal (12 total)
4 large (3 rounds each) squares for each gladiator barefoot sandal (8 total)
Abbreviations:
ch – chain
sl st – slip stitch
sc – single crochet
dc – double crochet
xs – times
To start, ch6, join with a sl st to form ring.
R1: ch2, work 2dc in the ring, ch3, *3dc in ring, ch3* 3 times, join with a sl st in top of ch2, fasten off, break yarn. One small square made.
R2: To start a corner with a new strand, work the following in the same ch-3 space: sl st, ch2 , 2dc, ch3, 3dc (first corner made) ch1, *in the next ch-3 space, 3 dc, ch 3, 3 dc* repeat * to * 3xs, sl st into top of ch, fasten off, break yarn.
R3: Choose any ch-3 space corner to work into, sl st, ch2 , 2dc, ch3, 3dc (first corner made) ch1, *in the next ch-3 space, 3dc, ch1, in the corner ch-3 space, 3dc, ch3, 3dc* repeat * to * 3xs, sl st into top of ch, fasten off, break yarn. One large square made.
Join the corners using the mattress stitch. Chain 12 for the end to go around your toe, using a slip stitch to attach it. Need help with the mattress stitch to join? Click HERE for Oombawka Designs tutorial.
Natasha Hudgins
Sunday 18th of January 2015
I have made these (in the same colors) and every time I wear them I get tons of compliments
celinalane
Monday 6th of July 2015
So fun, Natasha!
Sonya
Friday 16th of January 2015
This pattern is my fav of your free patterns!!!
celinalane
Saturday 19th of July 2014
Thanks!
Kristina & Millie
Wednesday 16th of July 2014
totally awesome!!
originaltangerine
Saturday 12th of July 2014
Ooo! These are sassy! I don't have opportunity to wear barefoot sandals, but I totally see myself altering this to use with some basic flip flop soles!