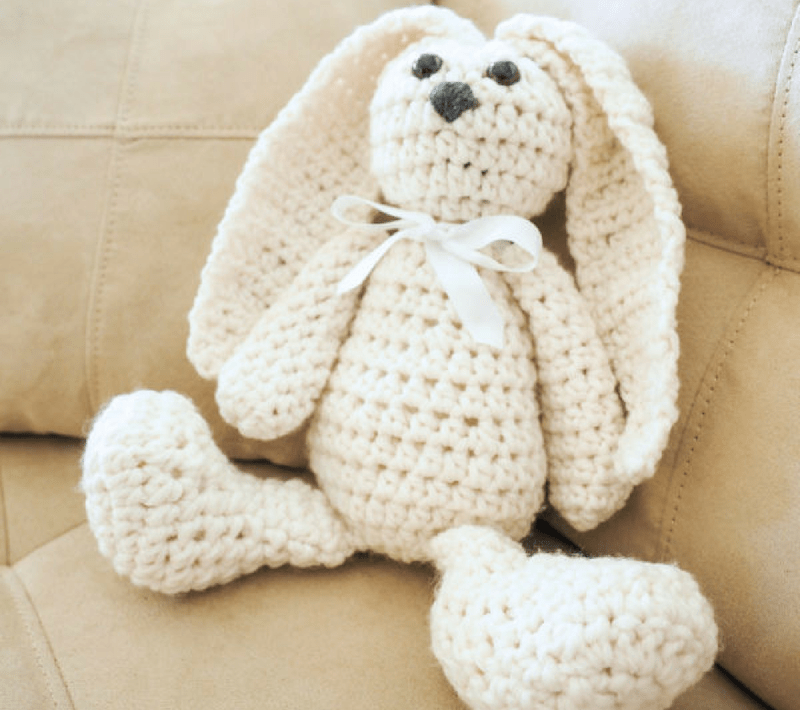
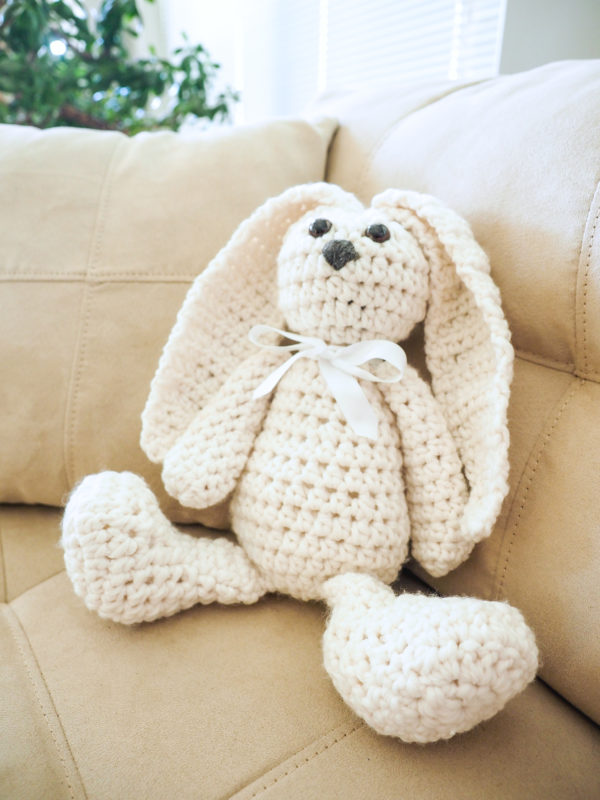
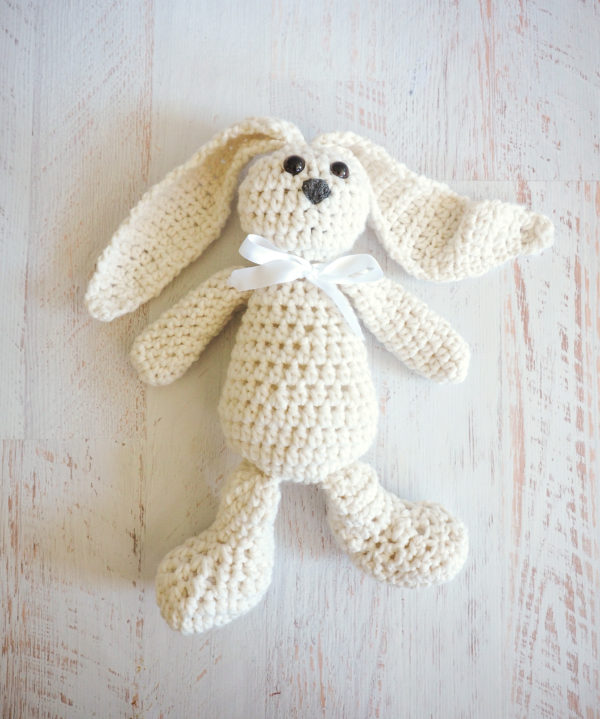
Bunnies aren’t just for Easter. Make this adorable fluffy crochet bunny for any time of the year for maximum levels of cuteness. Make something for your own that will be a memorable keepsake for the years to come. Scroll down for the complete free pattern or get the ad-free, printable PDF here.
You’re getting the snuggliest bunny for your very own when you make this crochet bunny pattern. We love how easy it is to crochet, and how much fun it is once it’s done. Your kids or grandkids will love to cuddle up with this little guy. And if you don’t have kids or grandkids, it still looks great as a cushy decoration for your room.
Hop to it. Choose a brown or white color to add a more life-like touch, or switch it up and make your crochet bunny out of some zany colors. It’s up to you. Sew on some buttons, tie a bow, and your adorable new toy is all ready to be loved.
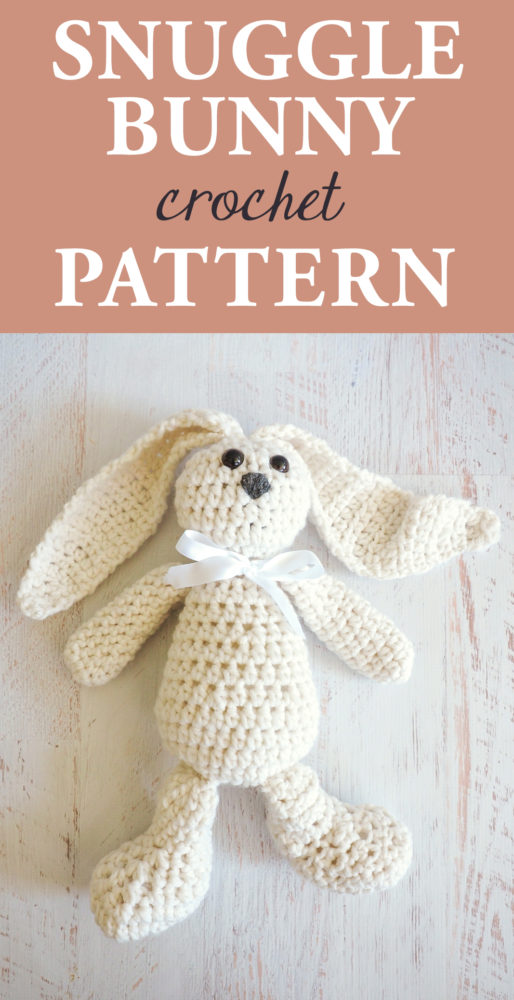
Snuggle Bunny Crochet Pattern
Skill Level: Intermediate
Yarn: Super Bulky yarn
- 200 yds white
- 10 yds grey (for nose)
Materials:
Hook: Size K/10 ½ 6.5 mm crochet hook
- Yarn needle
- Safety eyes
- Polyester stuffing
| ABBREVIATIONS | DESCRIPTION |
|---|---|
| ch | Chain |
| dc | Double crochet |
| hdc | Half double crochet |
| hdc2tog | Half double crochet next 2 stitches together |
| hdc3tog | Half double crochet next 3 stitches together |
| rnd | Round |
| sc | Single crochet |
Size: About 20” tall
Gauge: 9 sc x 7 rows = 4”

Pattern
Join where indicated with a sl st in the first st of the rnd.
Body, Neck and Head
With white, make a magic circle.
Rnd 1: Ch 1, 10 hdc in magic circle, tighten magic circle, join. (10 hdc)
Rnd 2: Ch 1, 2 hdc in each st around, join. (20 hdc)
Rnd 3: Ch 1, 2 hdc in first st, hdc in next st, [2 hdc in next st, hdc in next st] 9 times, join. (30 hdc)
Rnds 4-6: Ch 1, hdc in each st around, join.
Rnd 7: Ch 1, hdc in each of first 3 sts, hdc2tog, [hdc in each of next 3 sts, hdc2tog] 5 times, join. (24 sts)
Rnds 8-9: Ch 1, hdc in each st around, join.
Rnd 10: Ch 1, hdc in each of the first 4 sts, hdc2tog, [hdc in each of the next 4 sts, hdc2tog] 3 times, join. (20 sts)
Rnds 11-12: Ch 1, hdc in each st around, join.
Stuff the bunny body.
Rnd 13: Ch 1, hdc2tog around, join. (10 sts)
Rnd 14: Ch 1, hdc in each st around, join.
Rnd 15: Ch 1, 2 hdc in each st around, join. (20 sts)
Rnd 16: Ch 1, 2 hdc in first st, hdc in next st, [2 hdc in next st, hdc in next st] 9 times, join. (30 sts)
Rnds 17-19: Ch 1, hdc in each st around, join.
Rnd 20: Ch 1, hdc in first st, hdc2tog, [hdc in next st, hdc2tog] 9 times, join. (20 sts)
Rnd 21: Ch 1, hdc2tog around, join. (10 sts)
Fasten off, leaving a long tail.
Add the safety eyes
Stitch on the nose with grey yarn and a yarn needle.
Stuff the neck and head.
Weave the yarn tail back and forth through each stitch around rnd 21. Pull tight to close the hole.
Weave in your end.
Ears (make two)
Row 1: With white, ch 2, 3 hdc in second ch from hook. (3 sts)
Row 2: Ch 1, turn, hdc in each st across.
Row 3: Ch 1, turn, hdc in first st, 2 hdc in next st, hdc in last st. (4 sts)
Row 4: Ch 1, turn, hdc in first st, 2 hdc in each of next 2 sts, hdc in next st. (6 sts)
Rows 5-7: Ch 1, turn, hdc in each st across.
Row 8: Ch 1, turn, hdc in each of first 2 sts, 2 hdc in each of next 2 sts, hdc in each of last 2 sts. (8 sts)
Rows 9-20: Ch 1, turn, hdc in each st across.
Fasten off, leaving a long tail.
Fold the wider end of the ears in half and attach them to the head.
Arms (make two)
With white, make a magic circle
Rnd 1: 10 hdc in magic circle, tighten magic circle, join. (10 sts)
Rnds 2-10: Ch 1, hdc in each st around.
Fasten off, leaving a long tail.
Weave the yarn tail back and forth through each stitch around rnd 10. Pull tight to close the hole. Attach to the body. (I didn’t stuff the arms)
Feet and Legs (make two)
With white, make a magic circle
Rnd 1: 10 hdc in magic circle, tighten magic circle, join. (10 sts)
Rnd 2: Ch 1, 2 hdc in first st, 2 dc in each of next 3 sts, 2 hdc in next st, 2 sc in each of last 5 sts, join. (20 sts)
Rnd 3: Ch 1, hdc in same st, 2 hdc in next st, [dc in next st, 2 dc in next st] 3 times, hdc in next st, 2 hdc in next st, sc in each of next 10 sts, join. (25 sts)
Rnd 4: Ch 1, hdc in first st, hdc2tog 5 times, hdc in each of next 14 sts, join. (20 sts)
Rnd 5: Ch 1, hdc2tog 5 times, hdc in each of the next 10 sts, join. (15 sts)
Rnd 6: Ch 1, hdc in first st, hdc3tog, hdc in each of the next 11 sts, join. (13 sts)
Rnd 7: Ch 1, hdc3tog, hdc in each of the next 10 sts, join. (11 sts)
Stuff the foot.
Rnds 8-13: Ch 1, hdc in each st around, join.
Fasten off leaving a long tail.
Weave the yarn tail back and forth through each stitch around rnd 13. Pull tight to close the hole. Attach to the bunny. (I didn’t stuff the legs)
Sew in all ends with a tapestry needle.
Get the ad-free, printable PDF here
Was there a lucky person out there on the receiving end of this cute crochet project? Or did you crochet him all up for yourself? We want to know just how your process of making this adorable plushie went.
Reversible Crochet Baby Dress Pattern – Pretty, Pretty Princess
Amy
Wednesday 13th of December 2023
I made this. It is so cute. I donate baby blankets every year. This next year will have these rabbits and baby blankets to donate as well as Teddy bears. Thank you so much for sharing this pattern. I used thick and quick (6 weight) yarn and will also use some fur yarn, as well as regular 4 and 5 weight yarn. Again thank you.
Susan,Gaudett
Sunday 24th of January 2021
Great pattern. Loved how it came out. Thanks for’sharing
Elizabeth Kain
Tuesday 1st of September 2020
If I can't get this Cascade Swaddle cotton, would any cotton suffice?